使用 Webpack 从零开始搭建 Vue3 + TS 开发环境(五)添加Less支持
笔特 | 11/16/2022, 6:37:09 AM | 603 次阅读
1 引言
为了能够更好的理解webpack,特准备了这份从零开始开始搭建教程,不使用官方的脚手架,不使用预定义配置,完全从零开始搭建一个使用 Webpack5 构建的 Vue3 + TypeScript 的项目开发环境。这里我们添加less作为样式预处理。
关键词
- Webpack5
- Vue3
- TypeScript
- JavaScript
文章列表
- 使用 Webpack 从零开始搭建 Vue3 + TS 开发环境(一)搭建编译环境
- 使用 Webpack 从零开始搭建 Vue3 + TS 开发环境(二)配置HTML模板
- 使用 Webpack 从零开始搭建 Vue3 + TS 开发环境(三)添加Vue环境
- 使用 Webpack 从零开始搭建 Vue3 + TS 开发环境(四)添加Vue的样式
- 使用 Webpack 从零开始搭建 Vue3 + TS 开发环境(五)添加Less支持
- 使用 Webpack 从零开始搭建 Vue3 + TS 开发环境(六)添加Vue的TS支持
- 使用 Webpack 从零开始搭建 Vue3 + TS 开发环境(七)添加静态文件
- 使用 Webpack 从零开始搭建 Vue3 + TS 开发环境(八)不同环境的配置
- 使用 Webpack 从零开始搭建 Vue3 + TS 开发环境(九)ES语法转换
2 安装依赖
yarn add -D less less-loader
1
3 配置
在webpack.config.cjs的module.rules数组中加入以下loader用来解析less文件或者vue中的 <style lang="less"></style>
module.exports = {
  module: {
    rules:[
      {
        test: /.less$/,
        use: [{
          loader: "style-loader"
        },
        {
          loader: "css-loader"
        },
        {
          loader: "less-loader"
        }
        ]
      }
    ]
  }
}
1
2
3
4
5
6
7
8
9
10
11
12
13
14
15
16
17
18
19
2
3
4
5
6
7
8
9
10
11
12
13
14
15
16
17
18
19
4 写代码
<!-- src/app.vue -->
<!-- js不需要loader,所以一并加上了 -->
<template>
  <div class="app-main">
    <a class="a-button" @click="onTestClick">测试 Vue 文件:{{count}}</a>
  </div>
</template>
<script>
import { defineComponent, ref } from 'vue'
export default defineComponent({
  methods:{
    onTestClick(event){
      console.log(event)
      this.count++
    }
  },
  setup() {
    const count = ref(0)
    return {
      count
    }
  }
})
</script>
<style>
html,
body {
  width: 100%;
  height: 100%;
  position: absolute;
  overflow: hidden;
  background-color: red;
}
</style>
<style lang="less">
.app-main {
  .a-button {
    color: #fff;
    font-size: 16px;
  }
}
</style>
1
2
3
4
5
6
7
8
9
10
11
12
13
14
15
16
17
18
19
20
21
22
23
24
25
26
27
28
29
30
31
32
33
34
35
36
37
38
39
40
41
42
2
3
4
5
6
7
8
9
10
11
12
13
14
15
16
17
18
19
20
21
22
23
24
25
26
27
28
29
30
31
32
33
34
35
36
37
38
39
40
41
42
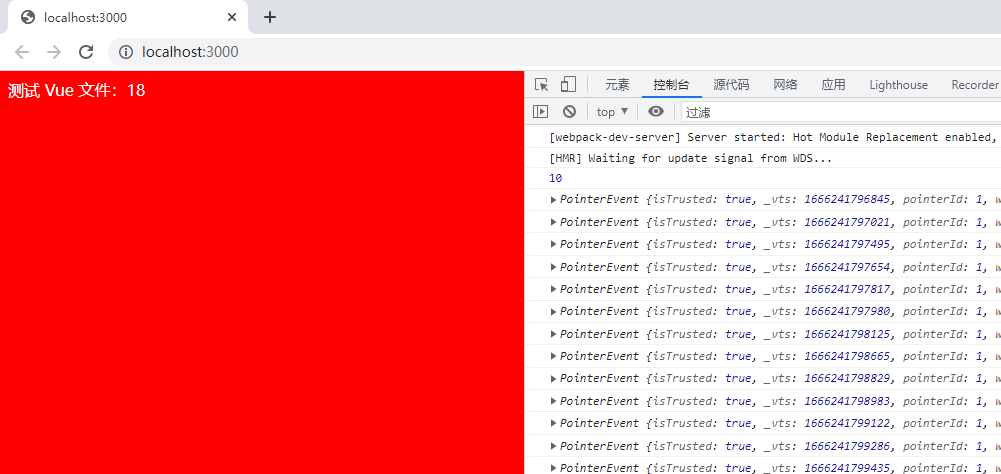
5 结果