使用Vite+Vue3搭建前端SSR应用(一)新建项目并配置基础环境
笔特 | 11/26/2022, 1:39:13 AM | 3113 次阅读
1 引言
使用Vite+Vue3搭建前端SSR应用
相关文章
- 使用Vite+Vue3搭建前端SSR应用(一)新建项目并配置基础环境
- 使用Vite+Vue3搭建前端SSR应用(二)搭建SSR服务端渲染
- 使用Vite+Vue3搭建前端SSR应用(三)SEO网页头配置
- 使用Vite+Vue3搭建前端SSR应用(四)应用的部署
关键词
- Vite
- Vue
- SSR
- SEO
源代码地址
https://gitee.com/bitem/vite-vue-ssr-demo.git
2 新建项目
执行命令创建项目
npm create vite@latest
1
这里使用Vue3+TypeScript作为语言进行开发
PS D:\Git\bitem\my-demo> npm create vite@latest
Need to install the following packages:
  create-vite@3.2.0
Ok to proceed? (y)
√ Project name: ... vite-vue-ssr-demo
√ Select a framework: » Vue
√ Select a variant: » TypeScript

Scaffolding project in D:\Git\bitem\my-demo\vite-vue-ssr-demo...

Done. Now run:

  cd vite-vue-ssr-demo
  npm install
  npm run dev

PS D:\Git\bitem\my-demo>
1
2
3
4
5
6
7
8
9
10
11
12
13
14
15
16
17
2
3
4
5
6
7
8
9
10
11
12
13
14
15
16
17
3 安装依赖
yarn add vue-router
yarn add -D @types/node vite-plugin-pages less
1
2
2
  "dependencies": {
    "vue": "^3.2.41",
    "vue-router": "^4.1.6"
  },
  "devDependencies": {
    "@types/node": "^18.11.9",
    "@vitejs/plugin-vue": "^3.2.0",
    "less": "^4.1.3",
    "typescript": "^4.6.4",
    "vite": "^3.2.0",
    "vite-plugin-pages": "^0.27.1",
    "vue-tsc": "^1.0.9"
  }
1
2
3
4
5
6
7
8
9
10
11
12
13
2
3
4
5
6
7
8
9
10
11
12
13
4 配置别名
tsconfig.json
{
  "compilerOptions": {
    "paths": {
      "@/*": [
        "./src/*"
      ]
    }
  }
}
1
2
3
4
5
6
7
8
9
2
3
4
5
6
7
8
9
vite.config.ts
import { fileURLToPath, URL } from 'node:url'
export default defineConfig({
  // 无关代码忽略
  resolve: {
    alias: {
      '@': fileURLToPath(new URL('./src', import.meta.url)),
    },
  },
})
1
2
3
4
5
6
7
8
9
2
3
4
5
6
7
8
9
5 配置约定式路由
// vite.config.ts
import { defineConfig } from 'vite'
import vue from '@vitejs/plugin-vue'
import Pages from 'vite-plugin-pages'

export default defineConfig({
  plugins: [
    vue(),
    Pages({
      // 路由页面对应的路径
      dirs: 'src/views'
    }),
  ]
  // 无关代码忽略
})
1
2
3
4
5
6
7
8
9
10
11
12
13
14
15
2
3
4
5
6
7
8
9
10
11
12
13
14
15
// src/vite-env.d.ts 中加入以下代码

/// <reference types="vite-plugin-pages/client" />

// 无关代码忽略
1
2
3
4
5
2
3
4
5
// src/router.ts
import { createRouter, createWebHistory } from 'vue-router'
import routes from '~pages'

export default function () {
  return createRouter({
    history: createWebHistory(),
    routes,
  })
}
1
2
3
4
5
6
7
8
9
10
2
3
4
5
6
7
8
9
10
6 新建路由页面
- src
|-- views                 路由文件夹
    |-- index             一级路由 / 的二级路由文件夹
    |   |-- category.vue  二级路由 /category
    |   |-- article.vue   二级路由 /article
    |-- index.vue         一级路由 /
    |-- about.vue         一级路由 /about
    |-- ...
1
2
3
4
5
6
7
8
2
3
4
5
6
7
8
说明:
views文件夹中index.vue对应默认的路由
二级路由则建立对应的文件夹即可
文件夹中的index.vue对应二级路由的默认路由
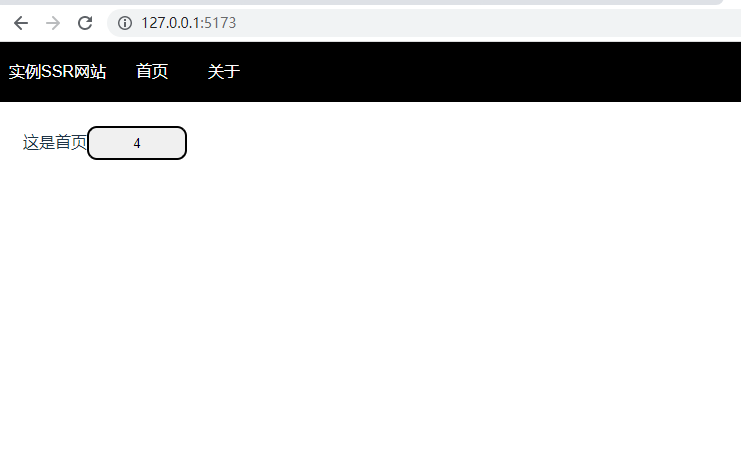
这里我们只新建两个一级路由用于测试
src/views/index.vue
<script lang="ts">
import { defineComponent, ref } from 'vue'
export default defineComponent({
  methods: {
    onButtonClick() {
      this.count++
    }
  },
  setup() {
    const count = ref(0)
    return {
      count
    }
  }
})
</script>
<template>
  <div class="view-index">
    这是首页<button @click="onButtonClick">{{ count }}</button>
  </div>
</template>
1
2
3
4
5
6
7
8
9
10
11
12
13
14
15
16
17
18
19
20
21
2
3
4
5
6
7
8
9
10
11
12
13
14
15
16
17
18
19
20
21
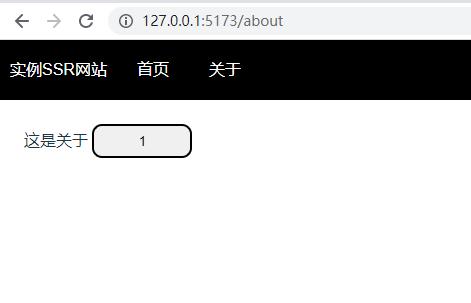
src/views/about.vue
<script lang="ts">
import { defineComponent, ref } from 'vue'
export default defineComponent({
  methods: {
    onButtonClick() {
      this.count++
    }
  },
  setup() {
    const count = ref(0)
    return {
      count
    }
  }
})
</script>
<template>
  <div class="view-about">
    这是关于 <button @click="onButtonClick">{{ count }}</button>
  </div>
</template>
1
2
3
4
5
6
7
8
9
10
11
12
13
14
15
16
17
18
19
20
21
2
3
4
5
6
7
8
9
10
11
12
13
14
15
16
17
18
19
20
21
7 改造main.ts,引入Router
src/main.ts 这里展示的是最终结果,关于less的代码这里不做说明了,无关紧要
import '@/assets/index.less'

import { createApp } from 'vue'

import createRouter from "./route"

import App from './App.vue'

const app = createApp(App)

const router = createRouter()
app.use(router)

app.mount('#app')
1
2
3
4
5
6
7
8
9
10
11
12
13
14
2
3
4
5
6
7
8
9
10
11
12
13
14
8 改造App.vue
<script lang="ts">
</script>

<template>
  <div class="app-main">
    <header>
      <nav class="nav">
        <ul>
          <li>实例SSR网站</li>
          <li><a href="/">首页</a></li>
          <li><a href="/about">关于</a></li>
        </ul>
      </nav>
    </header>
    <router-view></router-view>
  </div>
</template>
<!-- 样式相关代码已删除 -->
1
2
3
4
5
6
7
8
9
10
11
12
13
14
15
16
17
18
2
3
4
5
6
7
8
9
10
11
12
13
14
15
16
17
18
9 测试运行
yarn dev
1
这一步完成后,下一步就是搭建SSR了